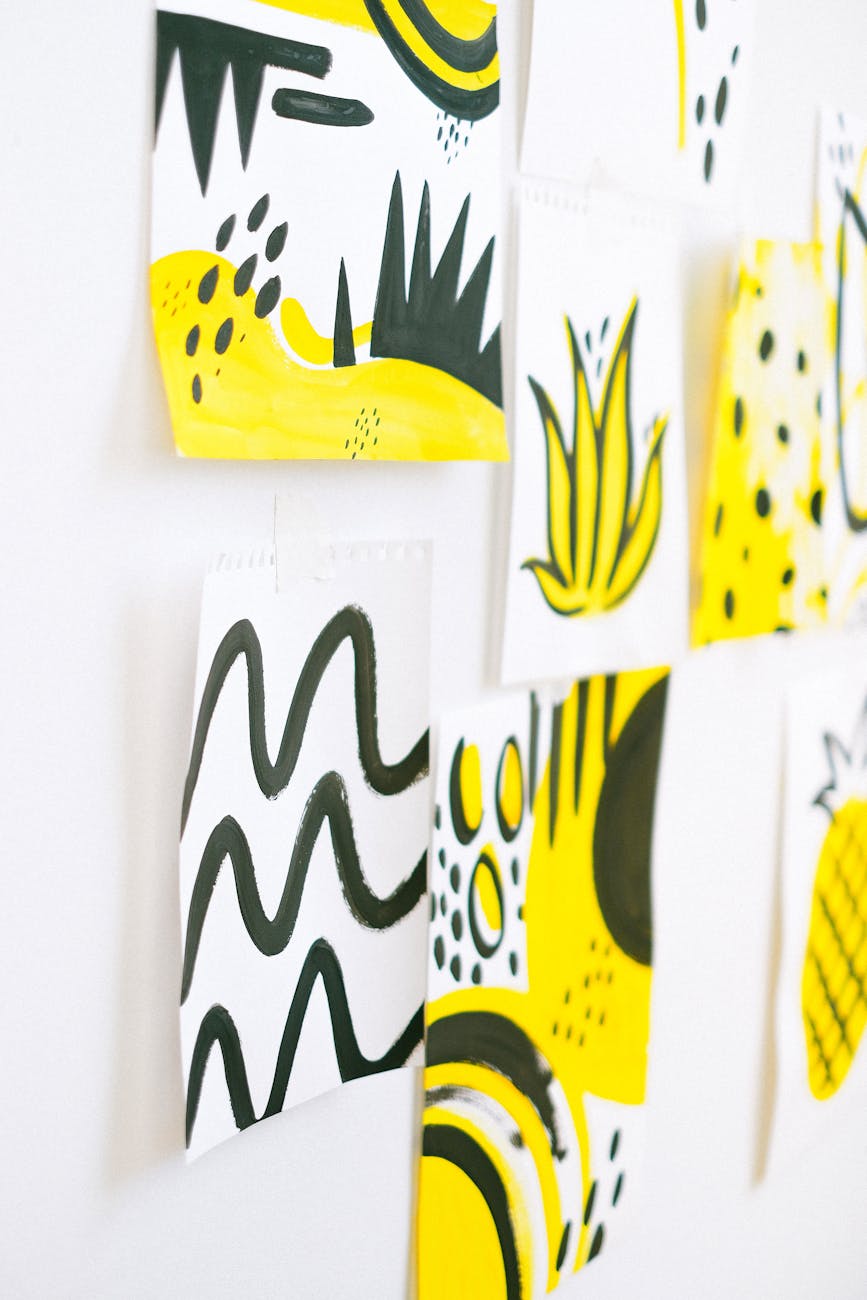
Are you looking to elevate the aesthetics of your living space without breaking the bank? Creating a stunning gallery wall is an excellent way to add personality and style to any room while staying within a budget. With a little creativity and planning, you can transform a blank wall into a captivating focal point that reflects your unique taste and personality. In this guide, we will walk you through the steps to create a budget-friendly gallery wall that will leave your guests in awe.
Planning Your Gallery Wall Design
Before you start hammering nails into the wall, it’s essential to plan your gallery wall design. Begin by selecting a theme or cohesive color palette to tie the artwork together. This could be based on a particular style, such as minimalistic, eclectic, or vintage, or a common color scheme that unifies the pieces. Consider the size and layout of your wall to determine how many artworks you will include and their arrangement.
Gathering Your Artwork Collection
Next, gather your artwork collection. Look for a mix of pieces, including framed prints, photographs, paintings, and other wall decor items that resonate with you. Thrift stores, flea markets, and online marketplaces are great places to find affordable artwork. You can also create your own pieces by framing postcards, pages from art books, or personal photographs.
Framing Your Artwork
Framing can significantly impact the overall look of your gallery wall. To keep costs down, consider using inexpensive frames that you can paint or distress for a cohesive look. Mix and match frame styles for added visual interest, or opt for uniform frames for a more streamlined appearance. Remember to choose frames that complement your artwork without overwhelming it.
Creating a Mock-Up
Before hanging your artwork, create a mock-up of your gallery wall on the floor. Arrange your pieces in different configurations until you find a layout that you love. Take measurements and photos to reference when hanging the artwork on the wall. This step will help you visualize the final result and make any necessary adjustments before committing to a layout.
Hanging Your Artwork
When it comes to hanging your artwork, precision is key. Use a level and measuring tape to ensure that your pieces are properly aligned. Start by hanging the central piece at eye level and work outward, maintaining equal spacing between each artwork. For a cohesive look, leave approximately 2-3 inches of space between each frame. Command strips are an excellent alternative to nails for lightweight artwork and can be easily adjusted without damaging the walls.
Adding Personal Touches
Once your gallery wall is complete, consider adding personal touches to make it truly unique. Incorporate decorative accents such as wall sconces, shelves, or small potted plants to complement your artwork. Experiment with different textures and materials to add depth and visual interest to the display.
Conclusion
Creating a stunning gallery wall on a budget is a rewarding DIY project that allows you to showcase your creativity and style. By carefully planning your design, selecting affordable artwork, and arranging your pieces thoughtfully, you can transform any blank wall into a captivating gallery that reflects your personality. With these tips and a little imagination, you can create a gallery wall that is both budget-friendly and visually striking.

Leave a Reply